Wednesday, October 1, 2014

OCC Copic Marker Class Day 7

Sandy showed not only how to awesomely color this image but also how to make a background to cover up an oops!
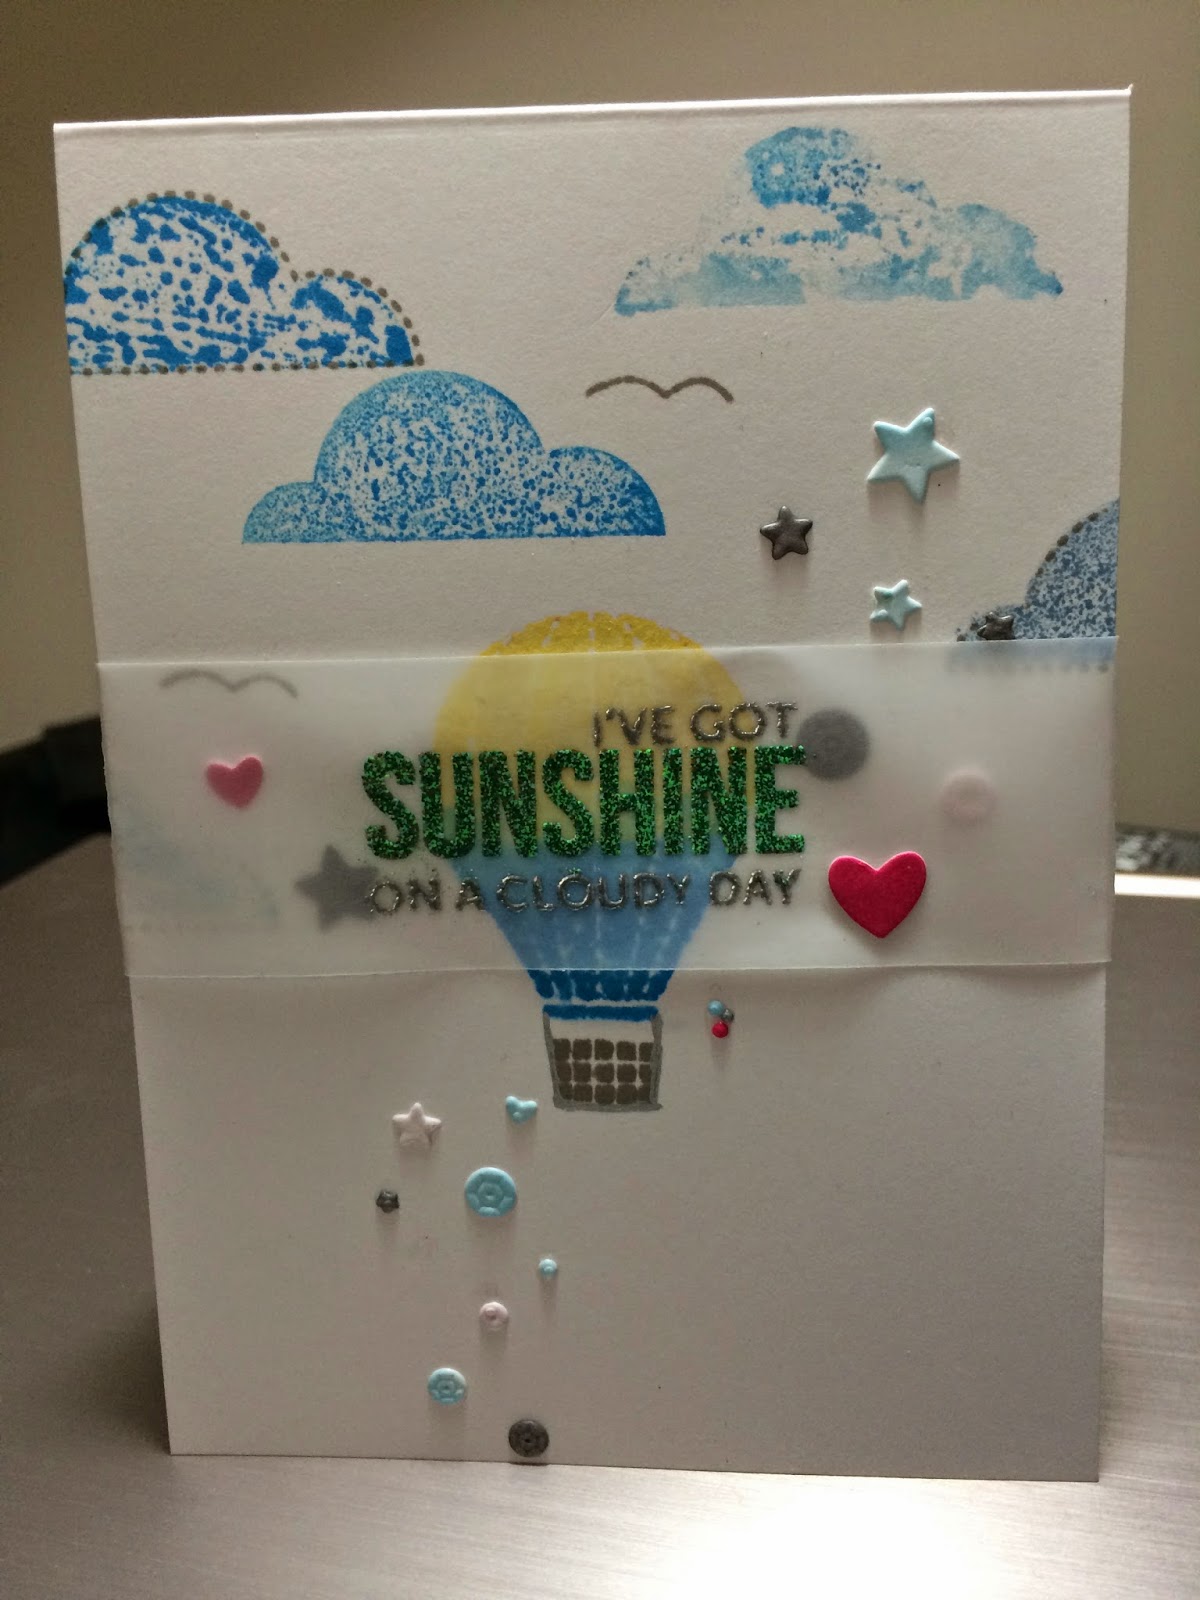
 SO I wasn't planning a  background but when I noticed this red mark from coloring on top of this image with copic markers that had bled through, I knew I need to do something to salvage it!  I could have cut it out (which is what I would have done if I hadn't seen how cool Sandy's looked~ way better than I did here… but I did try ;0) I should have worked the background a little more, it is not too blended but hmmm maybe that was the look I was going for (or as my kids would say or nah)!


Check back I think this guy will make his way to a card but it might be for project life instead as we don't do much with cards around Halloween although I could send it to my son at school (doubt he would really appreciate it though, so we shall see!)

What would you do with it? Any suggestions?

OCC Copic Marker Class Day 6

Day 6 – Colorless Blender Tricks + Coloring Animals and Texture

Trying to keep up with this class and learning so much!
I thought I had already posted this but I guess I just took the pictures and then I had to retake them as they were shadowy…;0)  This was fun and a neat way I had never known on how to use the colorless blender...


I really like the orange fox with the longish hair…Which one is your favorite??
Have an amazing day!
God bless~!

Monday, September 29, 2014

OCC Copic Marker Class Day 5 continued Ballerina


Kathy gave some great tips in her video on how she colors the whole body of an image… I like how she mentions how to do the white space in the dress that is something new for me.  The wink of stella on the eyelids and dress (which don't really show up here) are pretty cool finishing touches.  I think this turned out great for my first try! ;0)


Any suggestions??? Let me know!
Have an amazing day! ~God bless~

OCC Copic Marker Class Day 5

Day 5 – Coloring Skin, Hair, and Clothing

This first coloring is based off of how Kristina Werner colors hair.  Her hair coloring is phenomenal and she makes it look really easy, but for me not so...


The next group is from a video I watched in the class that Kelly Marie shows how she colors hair. This was a little easier to achieve...


 This is all of my practice ones together.  I did more practices of the hair because I thought I did the faces pretty well.  I will be finishing them later but wanted to show (keep up with) what I have done so far...
 Well what do you think?… Which one did you like the best? Skin…hair…
Have an amazing day and God bless!

OCC Copic Marker Class Day 4

Day 4 – Turning On The Lights


This day talks about shading on flowers and such… I tried some different ways that I have never tried. 
This first pic is from watching Kristina Werner's video and trying her technique.

 This example is from watching Jennifer McGuire's video and trying to emulate (rather poorly) what she did… These ladies make it look soooo easy and for me it is not.  But I am practicing so maybe somewhere down the road (okay I will try not to break into song here…HA!)

 Here I tried the light source coming from the top left and it was okay.  I don't think the yellow colors blend too well.  Those are the colors I have so oh well… I do think my leaves look more realistic so that is cool!
Well what do you think?? Have you signed up for this course yet???!
Have an amazing day! ~God bless~

Thursday, September 25, 2014

OCC Copic Marker Class Day 3

Day 3 – Get More Mileage Out of Your Markers


Todays topic is mostly about Gray Shading… 

I have never really used the copic markers with a gray to add shading so here is my practice sheet…


OCC Copic Marker Class Day 2

Day 2 – Blending Tricks


Well I have used these tricks before at least most of them.  I think I like the idea of putting some of the marker on a piece of throw away packaging~ no cleaning that way! So here is my practice sheet for Day 2.  I love the images they selected for us to work on in this class!


Tuesday, September 23, 2014

OCC Copic Marker Class Day 1

I can't believe I have not blogged since May!  This summer just sped by what can I say???!

I am taking the Online Card Classes Copic Marker Class which I highly recommend even though we are only on Day 2.  The value for the money is superb! You really can't go wrong!

Here is my first day practice… some turned out really well others not so!


Thursday, May 22, 2014

OCC Watercolor Class distress ink paints

I really enjoyed the watercolor class by Online Card Classes!
I played around here with watercolor paper and distress paints.  I used some water with them but they still remained pretty opaque which was fine with me… so here I decided to get out a bunch of die cut words and elements to cover the card front.


 After these are all cut out it looks like this.  It cut out wonderfully, I was worried it would not come out cleanly...
 So stay tuned for cards from these… They will be coming...

~May God bless your day and thanks for stopping by!

OCC Watercolor Class stamping on ink spritzed with water


This example from the OCC Watercolor Class is one of inking my stamp and then spritzing it with water.  It was not a very clear image of the bouquet of flowers (I guess I need to work on this technique).  SInce it didn't show up very well I decided to stamp the image with versa fine ink after it dried. I think it turned out nicely.  I added a back ground I stamped previously with this image to make the card.

I then decided that I wanted more color so I used my distress markers.  I used an acrylic block to put some of the marker on it and then used an ink blender to pick up the color and add it to the flower.  This is the end result.


Give these techniques a try and sign up for the OCC Watercolor Class it really has a ton of tips and well worth the money!

~May God bless your day and thanks for stopping by!

OCC Watercolor Class Inktense Pencils


  Here I used Inktense pencils, then added a bit of water to it.  It bled out some so it probably would have been better to emboss the image first.  I still think it turned out pretty.  I will be adding it to a card eventually but I really like to try the technique. Sometimes I put it in a little bin where I can whip up a  specific card when I don't have a lot of time but want something that takes a bit more time. So this will go there and you may see it again here attached to a card later on.
  I really do love Inktense pencil on a side note as they really do stay vibrant so it definitely gives it a different look for watercoloring!


Give these techniques a try and sign up for the OCC Watercolor Class it really has a ton of tips and well worth the money!

~May God bless your day and thanks for stopping by!

OCC Watercolor Class Butterfly Card with inky background


I wanted to show you a card I made for OCC Watercolor Class.  I first used an acrylic block swiping versa mark ink around the outside (Jennifer McGuire says this helps hold the watery ink onto the block). I then added distress ink to that on this card I used peacock feathers (my all time favorite) and chipped sapphire.  This gave me a nice background to add the butterflies to.  I then added distress ink markers directly to the wood mount rubber stamp.  Spritzed lightly and stamped on the butterfly giving it a few minutes to sink into the watercolor paper before lifting off. I did mask off the top butterfly a little on the bottom to make the second butterfly appear to be behind the first.  Then I lightly penciled in the word Congrats erased a little where it might be too bold (didn't really need to do that since I was writing in black marker).  I wanted to try this technique so I did then I copied over the Congrats with black marker.  I am not in love with the way I wrote Congrats it was a little wonky but it will remain none-the-less.


Give these techniques a try and sign up for the OCC Watercolor Class it really has a ton of tips and well worth the money!

~May God bless your day and thanks for stopping by!


Friday, May 16, 2014

OCC Watercolor Card Technique from Day 6 Finished card


This is my finished card here… I did have a little bit of the color bleed (or gee I might have missed a spot when covering ~it is a bit hard to see).  But overall I think this made a very special birthday card for my niece!


OCC Watercolor Card Technique from Day 6

For this technique I had some old but still usable rubber cement on hand.  I stamped the image and then used the rubber cement to mask off the flower that I stamped.  I then used the only two Peerless Watercolor paint on paper that I got from a Studio Calico Class (I never did see how to use it so I was glad to see how…).  I really like the Peerless it was a fabulous easy and I could definitely see it as being very portable! YAY! I just war my watercolor paper and then painted on the color and then let it dry.
After that just peel off the rubber cement and easy peasy!


Try it won't you???

OCC Watercolor Class Day 3 Card finish 1

I cut down the background I made and stamped with Versafine black ink the sentiment UR my hero Mom for a Mother's Day card. I then used Watercolor pencils, Inktense to lightly draw on the flower and then add some water to it for a bright flower on the card. I secured it to my blue card so that there was a slight border around it...

I like how it turned out? What do you think?

OCC (Online Card Classes) Watercolor class Day 3 Such Fun!

I started out with this class (Online Card Class Watercolor Class) making a bunch of backgrounds out of watercolor paper.

This is what I came up with… I mostly used an acrylic block like Jennifer McGuire shows in Day 3 for the more solid pieces and distress inks with perfect pearls mixed with water to spray on top.  The shine is great in person!


this is using a stamp


 these are using an acrylic block


Check out the Watercolor class it truly is a ton of bang for the buck.  
I am so grateful that the price is affordable for everyone. 
 Thanks OCC!


Wednesday, April 16, 2014

Mama Elephant Challenge from a photo

This was my take using the only stamp set I owned at the time of Mama Elephant. (I admit I was waiting for a few to come in the mail that finally came back into stock, YAY!)

So here was the photo for inspiration…

I used Sunny Skies and created some watercolor effect when stamping.  I used the confetti die to have all the different colored sprinkles around some under the vellum (to mimic the glass jar in the middle).  Mine is not quite as subtle, coloring wise but I just like more color...


I hope you like it~ it was a fun challenge! May God bless you with a great day! Be Creative in whatever way God calls you to be!

Sunday, January 26, 2014

OCC: Stenciled Class Day 1 Inking on the stencil

This is the card I made with the color gradation from yellow to orange and then I also misted with perfect pearls while the stencil was in place! Just beautiful and a great tip.

Pretty simple with the stencil look and rub ons.


OCC: Stencil Class Day 3

On this day we were to use embossing paste and I used the snow stencil by Simon Says Stamp (SSS) with the white embossing paste.

 This is the card I created using it.  A word to the wise from experience it is better to start with the size you want as it is hard to cut down and get even edges…Added some stars from Studio Calico kit and some wood ones that I colored pink with distress markers. Added the sentiment from SSS stamp set onto vellum and layered it over it all!

May your day be blessed!

OCC: Stenciled Class Day 1

I have a few stencils and thought this class would give me some more ideas on how to use them and so the play began…

For Day one I created two pieces one that has a graduation of color and one where I did the stars yellow and then I off set the stencil and added orange in.

This is the card I made with the offset orange one. I added My handwriting for You are and sticker letters for My with some twine wrapped around and a puffy star with wash tape at the bottom.

I thought this would be either a good college card or graduation card.  Thanks for checking it out. May your day be blessed!

Thursday, January 2, 2014

The Lilypad Forums Challenge Pad Month of Challenges - 2014 Jan. 2 Art Journaling

I had a lot of fun using a Collab Jump for Joy from The Lilypad.  I have not done a whole lot of Art Journaling but I thought it would be fun and it was! ;0)

Here's the page I made…


As you can see Austin was being very silly! Of course ice-cream always brings JOY to our household.

The Lilypad Forums Challenge Pad Month of Challenges - 2014 Jan. 1 Blind Scrap

I decided I definitely want to scrap more this year…I managed to accomplish more Christmas presents this past year (2013):calendar for my parents, Book for Bob of his Dad (more or less Project life style), Book for my Mom of our vacation to Canada (22 pages worth plus cover-front and back).  I am hoping to share some of it here soon.

I am starting a monthly (January) Challenge where you are to scrap everyday for this month with a given challenge over at the Lilypad.  It sounds fun- I hope I am up to the challenge.  Check it out and join me! ;o)

Day 1-Blind Scrap


Kit used: Allison Pennington: Not Pictured